You must first be a plan holder before you can begin bidding on a project. To become a plan holder, click on the ‘Full Ad and Plan’s or click on the Files. This will bring you to the project dashboard where the plans are located. You will be able to see other project information, including the plan holder list from the project dashboard. You will need a ConneX login in order to become a plan holder.


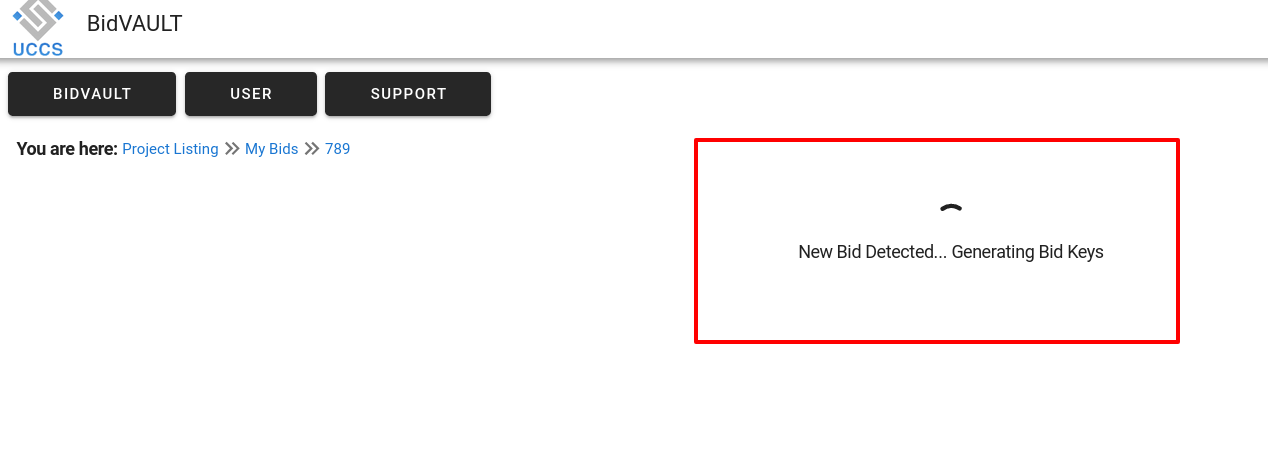
After beginning a bid, an encryption key will be generated and will pop- up allowing you to download the key. If you do not see the key download in your browser, you may also click on ‘Export Bid Key’.
This key will be needed to access your encrypted bid. It will be saved to your browser cache to make it easier to access the bid from your computer. However, you will want to save the bid key to keep until the project opening is complete.
If other users need to access the bid, please share this encryption key with those users as well. To see more about bid encryption and why it is necessary, click here.
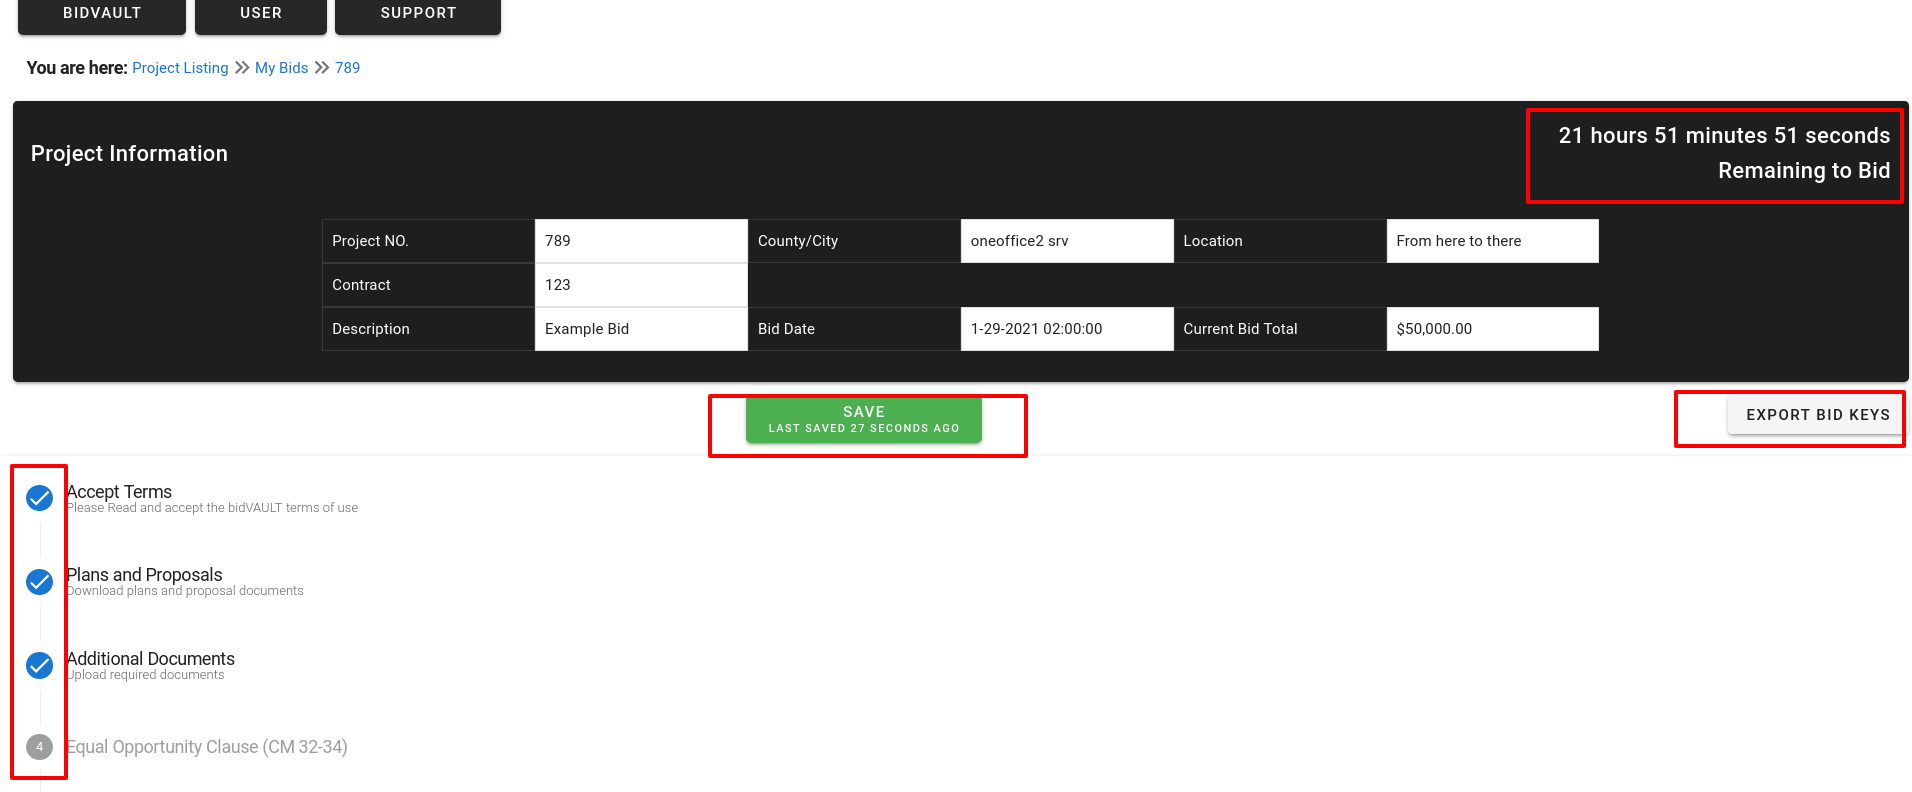
Use the guided interface to fill out the required sections. As each section is completed, a check mark will be shown. The bid will automatically save every minute but you can also click on ‘Save’.
The bid opening date/time is noted. The total bid value also is shown. If you need to download your bid key again, you can click on ‘Export Bid Keys'.
You must check that you have received an addendum, in bidVAULT, even if you have already completed your bid and/or downloaded the file.

A notification will be sent to make you aware of any posted addendum. If items are impacted by the addendum, you will see those items noted on the addenda and will also see any edited or added items hi-lighted in the bid entry section. Items in blue have been added or modified, while items in red have been removed so you will not be able to enter a unit price for that item.

Project owners can request documents to be filled out and approved electronically, or they can request documents to be uploaded.
To upload information, click on the ‘Add documents here’ and browse to select a file. You may add multiple files. Last, click on ‘Upload’ to attach the documents. The necessary documents will be listed under ‘Required Documents'.

To fill out an electronic document, enter information into the hi-lighted field entry areas, before clicking the ‘Sign’ button.
*Please note that required fields (hi-lighted in orange) must be entered before you can sign the document. Fields in yellow are optional to populate and will not require entry.


1.Alternates/Base Items
Alternate bid items do not require a bid. You may bid ‘0’ for alternate bid items but you may not bid ‘0’ on base bid items
2. Item Sections
Sections will divide the Base Bid items (which must be bid on) from the Alternate Bid Items (which do not require a non-zero entry). Click on each section to open.
Items may also be separate by item category (such as ‘Bridge’ and ‘Road’ noted above).
3. Search/View
Search for an item at top. Use the column headers to resort items. View more or less items at one time using the ‘rows per page’ selection at the bottom of the item list
4. Historical Bid Prices
Access historical bid prices by clicking on the item number
5, Number of Items View per Page
You can change the number of items you view on each page by click on the drop down by ‘Rows per Page’. If you do not want to use paging, select ‘All’ to view all items at once.
6. Contingency Items
These items will not allow a unit price entry as that has been set for all bidders by the project owner.
The item list can be exported into a csv/excel file by clicking on the ‘Export’ button at the top of the item list.

If you wish to import bid prices, rather than manually enter values, you can optionally enter the value into the ‘Unit Price’ column on the spreadsheet, then click on ‘Import’ to select and import the values into bidVAULT.

Select the file, then click on ‘Confirm’ to complete the upload. Please note, the order of the csv file should not be changed.

There are three options for submitting a bid bond:
Upload a bid bond document by clicking on ‘Attach’. Click on the space ‘Attach bid bond’. Browse to select the file and click on ‘Upload bid bond’.
Use Surety 2000. After selecting ‘Surety 2000’, enter your Surety email and password, enter the bid bond number provided by Surety2000, as well as the Contract ID (contract or project number on bidVAULT, and your vendor ID (this may be your assigned contractor ID or federal tax ID).
Use SuretyWave. After selecting ‘SuretyWave’, enter your bond ID.

When you approve your bid, the application will verify that all required information is complete. You can also use the check marks next to each section to ensure each section is complete. If there are missing sections, a message will state that you need to complete the missing sections. Those sections without a check mark will need to be completed.

When you click on ‘Finish’, your bid will be moved to a ‘Complete’ status. On the ‘My Bid’ dashboard, you will see the bid is now noted as completed and you will receive an email notification to note it was completed.

*Please note, you can continue to update your bid up until the bid date and time, even if it is was previously completed. Be sure to click on Finish after updates are made, or click on ‘Save’ to save updates.